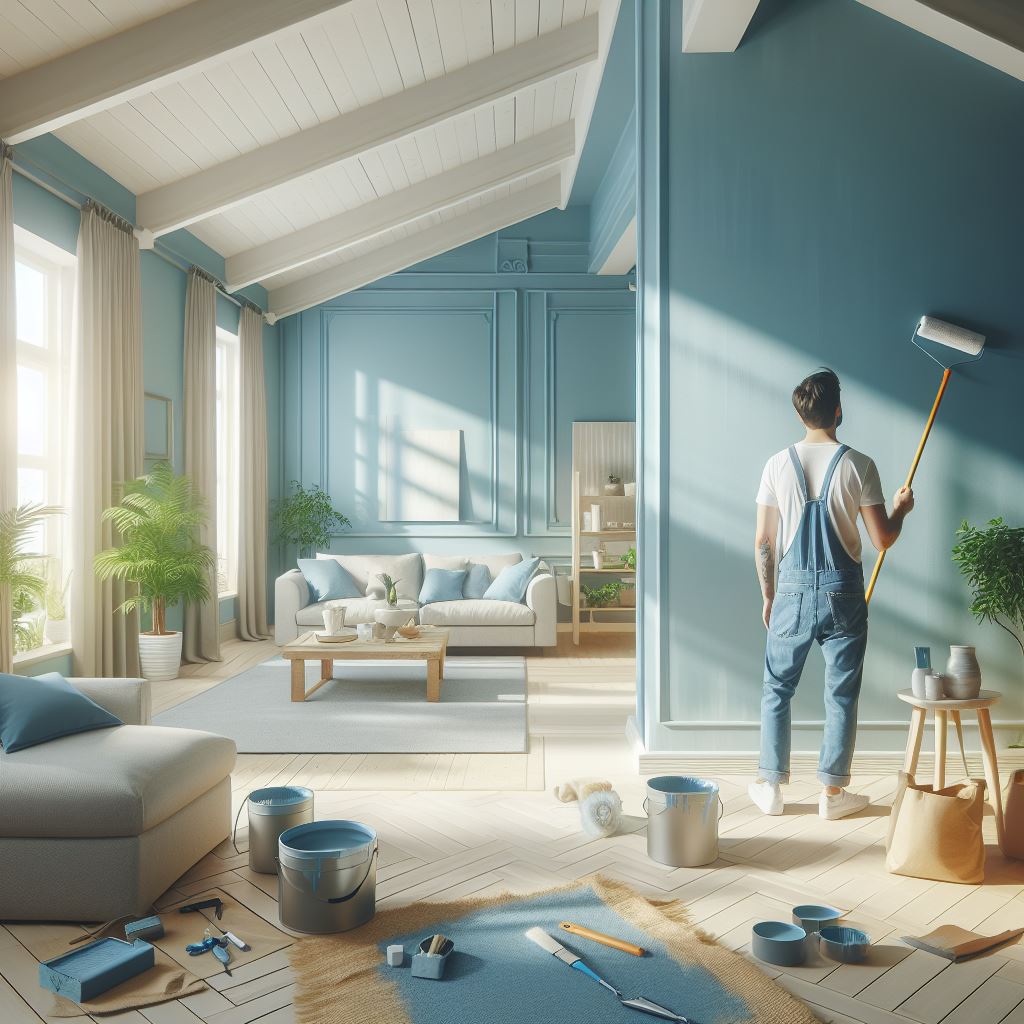
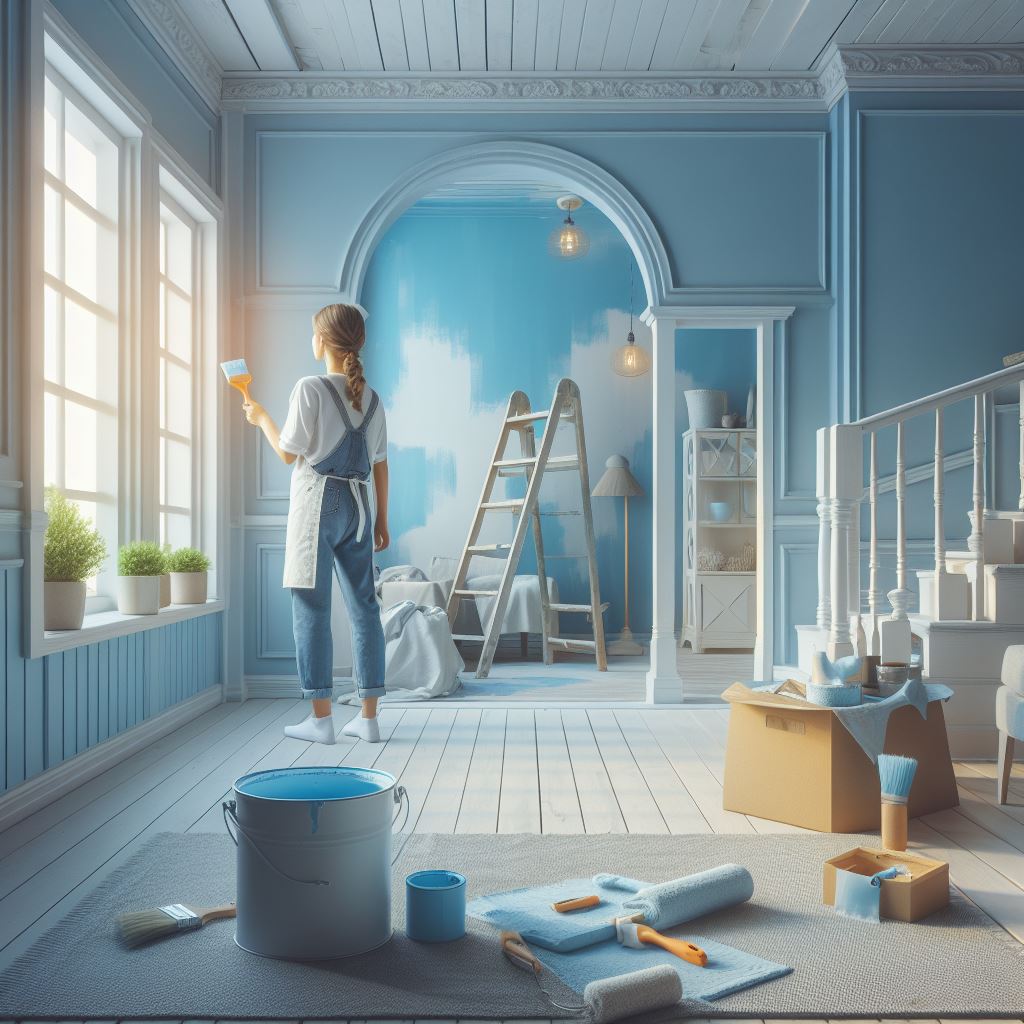
In this blog post, we will explore the various house painting techniques that professional house painters use to achieve a flawless finish on every job. Whether you’re a seasoned DIY enthusiast or taking your first steps into painting, our house painting techniques are tailored to ensure success every time.
Discover the ultimate guide to mastering house painting techniques, designed to help you achieve impeccable results. From proper surface preparation to selecting the right tools and materials, readers will learn valuable tips and tricks to elevate their painting skills.
With our expert guidance and practical insights, you’ll confidently tackle projects of any scale, from minor touch-ups to complete room transformations.
While professional painters make achieving a flawless finish seem effortless, the key lies in meticulous preparation rather than simply applying paint.
Follow our professional house painting tips and techniques to ensure your residential painting projects are nothing short of perfection.
10 Professional House Painting Techniques and Tricks
Consider Climate Conditions
Before starting your home painting project, assess the weather conditions. Aim to paint during dry weather conditions, as excessive humidity can affect the finish’s drying process and overall quality. High humidity levels, typically between 70% and 85%, can prolong drying times and lead to issues like bubbling paint.
To avoid these complications, paint houses during seasons with lower humidity levels. Depending on your location, fall or winter may offer more favorable conditions for interior house painting projects. You can ensure optimal results and a smooth painting experience by choosing the right time to paint.
Prep the Surface
Before diving into painting, it’s crucial to prep the surface properly for optimal results. This goes beyond a simple wash to remove dirt and grime. Take extra care, especially in high-traffic areas like the kitchen, where food residue may be present.
Inspect the walls and trim for any imperfections such as chips, dents, or scratches caused by daily wear and tear. Addressing these issues before wall painting will ensure a smooth and flawless finish. Consider filling in any holes or cracks with spackling compounds and sanding down rough patches to create a seamless surface for painting walls.
By investing time in surface preparation, you’ll lay the foundation for a professional-looking paint job that enhances the overall appearance of your space.
Prep for Adhesion
Before applying new paint, ensuring proper adhesion to the existing surface is essential. If the surface is satin or gloss, it’s smooth and shiny, which can make it challenging for the new paint to stick effectively. To improve adhesion, lightly sand the surface using sandpaper or a sanding block.
Inspect the wall for any areas that appear dull or uneven, indicating the need for sanding.
Using medium-grain sandpaper, gently sand the surface in a circular motion, applying light pressure. Be careful not to sand too vigorously, as this may damage the wall.
Once you’ve finished sanding, wipe away any dust or debris with a damp microfiber cloth to create a clean surface for painting interiors. This simple step will help your new paint adhere more effectively, ensuring a smooth and long-lasting finish.
Ensure Clean Walls
You need to ensure that your walls are clean and free of any contaminants. Follow these steps to prepare your walls:
- Use a vacuum or duster to remove dust and debris, including corners and baseboards.
- Wipe walls with a damp microfiber cloth and mild dish soap solution.
- Address any dirty or stained spots.
- Allow walls to dry completely before painting.
Precise Taping for Clean Edges
For crisp and clean edges, it’s essential to tape off the areas you don’t want to paint. Follow these interior painting tips for precise taping:
Use blue painter’s tape to carefully mask off trim and ceilings, ensuring straight and even lines.
Apply the tape with care, pressing down firmly along the edges to prevent paint bleed-through. Take your time to ensure there are no air bubbles or gaps in the tape.
Inspect the taped areas to ensure they are properly sealed and ready for painting.
Once the tape is in place, you can proceed confidently, knowing that your edges will have a professional-looking finish.
Use Primer for Dark Colours
Using a primer is essential for achieving a uniform and vibrant finish when painting over dark colours. Follow these home painting steps for successful primer application:
- Choose a suitable primer for the surface.
- Apply primer evenly with a brush or roller.
- Let the primer dry completely before painting.
- Primer helps cover dark colours with fewer paint coats.
Start with Cutting In
Begin your painting project by cutting in around edges and corners using a small trim brush. This will allow you to create precise lines and achieve a professional-looking finish.
- Use a small trim brush for precise lines.
- Paint carefully along edges and corners.
- Take your time to establish clean lines.
- Cutting in sets the foundation for the rest of the project.
Mix Paint Thoroughly
If you want your paint job to look professional, mixing your paint is essential. By taking the time to mix your paint evenly, you can ensure that the colour is consistent throughout the entire surface and that the coverage is uniform
- Stir paint well to blend colours.
- Use a stir stick to scrape sides and bottom.
- Keep stirring until smooth and consistent.
By mixing your paint thoroughly before starting, you can achieve consistent results and avoid colour discrepancies between different batches of paint.
Paint from Top to Bottom, Large to Small
When painting a room, always start at the top and work your way down, painting larger areas before smaller ones.
Paint the ceiling first, then the walls, and finally, any trim or details last.
This method helps to prevent drips and splatters on areas you’ve already painted and ensures a neat and professional finish.
Load Your Roller Correctly
To get smooth, even coverage without drips or streaks, follow these house painting techniques:
- Dip your roller into the paint tray.
- Roll it back and forth to spread the paint evenly.
- Remove excess paint by rolling it over the textured part of the tray.
- Ensure the roller is evenly coated but not overloaded.
By loading your roller correctly, you’ll achieve consistent results and avoid painting mistakes.
If you are ready to transform your home with a fresh coat of paint and a professional touch, look no further than 7CPM, your top choice for residential and commercial painting services. We cover everything from interior to exterior painting across NSW, including Pymble, Sydney, and beyond. Contact us today for all your Pymble house painting needs, and let us bring your vision to life with our expert house painting techniques.