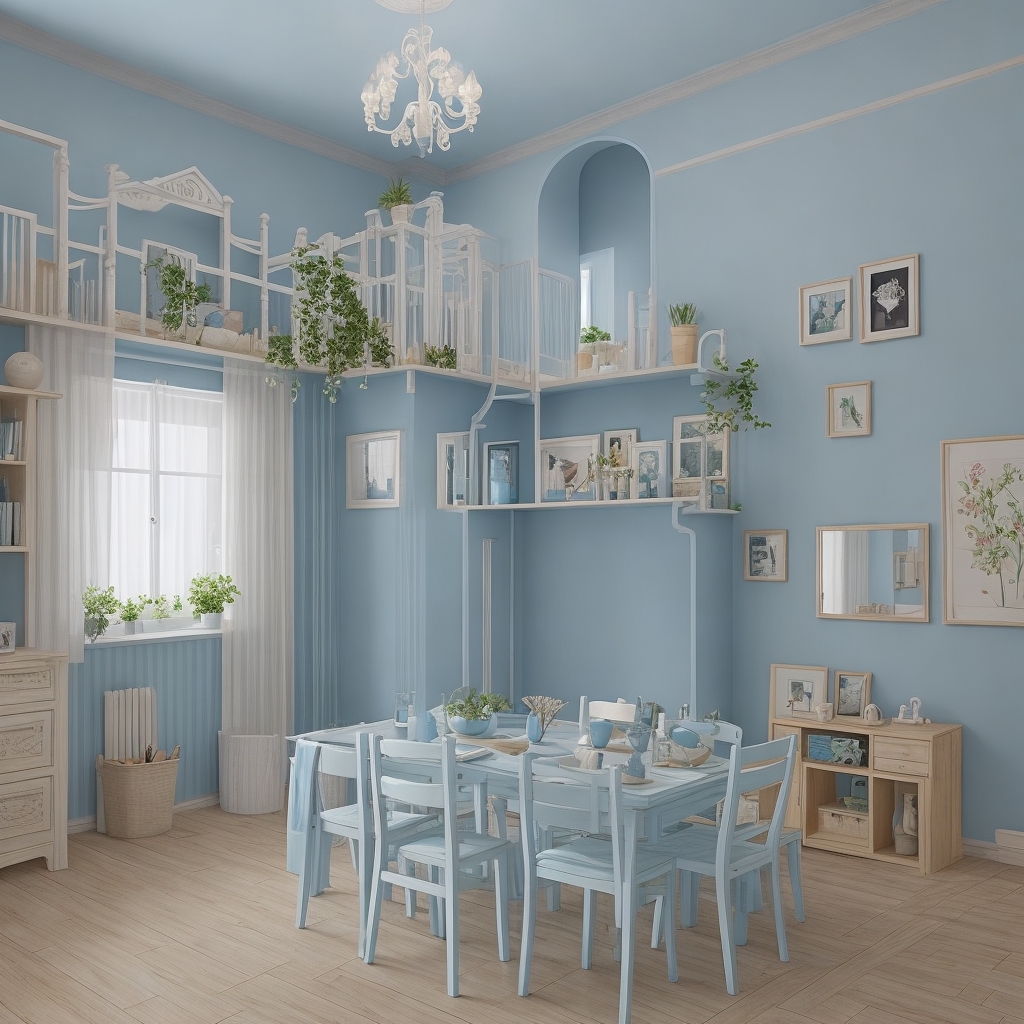
Are you considering painting a wall like a pro but do not know how? Transforming your home with a vibrant splash of paint can be a rewarding DIY project. It requires more than just a brush and a can of paint. Rushed decisions and a lack of proper technique can turn your exciting venture into a disaster. Fear not! Grab a cup of coffee and delve into our expert tips on painting a wall like a pro. Here are five simple steps to ensure your painting journey is a success.
First Step in Painting a Wall: Meticulously Select Your Palette
Begin painting a wall journey with precision by choosing the right colours for your space. The colour scheme sets the tone for the entire room, so consider the purpose of the space you’re transforming. Here’s a breakdown to guide your colour choices:
Warm Paints: Vibrant hues like red, yellow, beige, and orange evoke emotions and stimulate creativity. Ideal for lively areas such as kitchens, dining rooms, and living spaces.
Cool Paints: Shades like green, blue, brown, and grey have a calming effect, making them perfect for bedrooms, nurseries, or home offices.
Pro Tip: Seek a professional house painter’s advice or use colour consulting services to find the perfect colour for your specific room type. Our handy guides are also at your disposal.
Testing is Key: Don’t rely solely on colour cards; they can be deceiving. Invest in tester pots, apply different shades on A4 sheets, let them dry, and tape them to the wall. Assess how they harmonise with the room’s existing elements.
Consider Lighting: Natural sunlight and artificial bulbs can alter paint appearance. Paint a foam board in your chosen shade and move it around the room to gauge how lighting influences its look at different times of the day.
Room Dimensions Matter: Measure the square footage before heading to the store to calculate the required paint amount accurately. The general recommendation is a gallon for every 400 square feet. Adjust if you’re dealing with rough or unprimed surfaces.
Box Your Paint: Ensure colour consistency by “boxing” your paint. Mix all purchased paint into one large container to avoid variations in brightness or darkness. This meticulous approach guarantees a uniform look across your walls or ceiling.
By thoughtfully selecting your colours, you lay the foundation for successfully painting a wall project. Stay tuned for the next steps to painting a wall like a DIY pro.

Second Step In Painting a Wall: Prepare and Protect
Before diving into your painting a wall project, ensure a flawless finish by addressing any wall imperfections:
– Inspect Thoroughly: Identify and fix cracks, flakes, or peeling areas by lightly sanding, scraping, and applying primer. Tackle greasy spots with a soapy sponge and eliminate dust with a damp cloth.
– Shield Your Space: Safeguard your belongings by either relocating them or covering furniture, floors, and electronics with blankets, drop cloths, or plastic bags to prevent paint splatters.
– Disconnect and Cover: Disconnect light sources, cover doorknobs with secured plastic bags, and remove light switch and outlet covers to prevent unnecessary damage.
– Gather Your Tools: Equip yourself with essential interior house painting supplies, including high-quality brushes, rollers, painter’s tape, putty knife, sanding paper, sealants, primers, ladder, and canvas drop cloth. Utilise a trim guard for trickier sections.
– Safety First: Prioritise safety with goggles and gloves when dealing with chemicals. A dust mask is advisable for sanding surfaces. Dress in long pants, a long-sleeve shirt, and slip-on footwear to handle spills. Opt for canvas drop cloths over plastic sheets for stability.
Ensure a smooth wall painting process by meticulously preparing and protecting your space.

Third Step in Painting a Wall: Surface Prep Essentials
Before you start residential painting, ensure your surfaces are prepped for a flawless finish:
– Walls and Ceilings: Remove stains and dust, treat smudges with soapy water, rinse, and let dry. Scrape off old paint flakes and fill in imperfections with your preferred Polyfilla. For severe stains, apply a water-based or oil-based primer, let it dry overnight, and sand it with fine-grit sandpaper.
– Woodwork: Use grit sandpaper (sizes 100 to 150) to remove old varnish, smooth caulked nail holes, or address grain raising. Fill dents with caulk or wood filler, sand once dry, and apply wood primer before home painting.
– Covings and Cornices: Primer choice depends on the material. Plaster cornices need a water-based primer, while polymer-based trims may already be pre-primed. Wait a day before priming newly installed decorations. Caulk after priming for a professional finish using a dripless caulking gun and paintable acrylic-latex caulk.
Ensure every surface is prepped for optimal paint adherence and a polished outcome.
Fourth Step In Painting a Wall: Masterful Painting Techniques
Achieving a professional finish requires finesse. Here’s how to apply paint like a pro:
Painting Walls:
– Stir the paint thoroughly, adjusting consistency if needed.
– Start from the top, working your way down.
– Use a roller in “W” shapes for efficient coverage.
– Wait for the first coat to dry, inspect, and sand before the final coat.
Painting Ceilings:
– Cut in edges with a paint edger or brush.
– Mentally divide the ceiling into a grid for systematic painting.
– Avoid excess paint by rolling over the shallow end of your tray.
Painting Woodwork:
– Choose the right thinner for staining, varnishing, or painting.
– Utilise a trim guard for precise application.
– Apply multiple coats for a flawless finish, sanding between layers.
Master these interior painting techniques to elevate your painting and decorating skills. Remember, mastery takes time and practice. Stay tuned for the final steps to complete your DIY project with finesse!

Fifth Step in Painting walls: Elevate with the Right Finish
Complete your painting venture by choosing the perfect finish. Explore popular finishes for distinct needs:
Flat or Matte Finish:
– Achieved with latex paint, ideal for walls and ceilings.
– Application may require 2-3 coats, depending on wall condition.
– Apply with rollers, brushes, or sprayers. Dilution may be needed for consistent results, especially with sprayers.
Eggshell or Satin Finish:
– Adds extra sheen, ensuring durability for walls.
– Satin provides a smooth and soft interior look.
– Opt for oil-based stain for wood surfaces.
– Consistency in sheens by sticking to the same brand.
Semi-Gloss or Gloss Finish:
– Durable, shiny finish perfect for wooden surfaces.
– Water-based versions available.
– Acrylic enamel gloss for a smooth, long-lasting finish.
– Semi-gloss with mould-resistant properties suitable for bathrooms and kitchens.
– Ideal for children’s rooms due to easy cleaning.
Choose the right finish to enhance your project, delivering a professional touch to your painted surfaces!

Transform Your Walls with Expert Precision!
Congratulations on mastering the art of DIY wall painting like a pro! If you ever find yourself craving a hassle-free painting experience, consider the unparalleled painting services of 7CPM. Our professional painters specialise in both exterior painting and interior painting, ensuring a flawless finish every time.
Say goodbye to the paint spills, uneven strokes, and countless hours of effort. Let us elevate your space with our expertise, turning your vision into a vibrant reality. Contact 7CPM today for a quote and discover the difference professional painting can make. Your dream space awaits – let’s bring it to life together!


